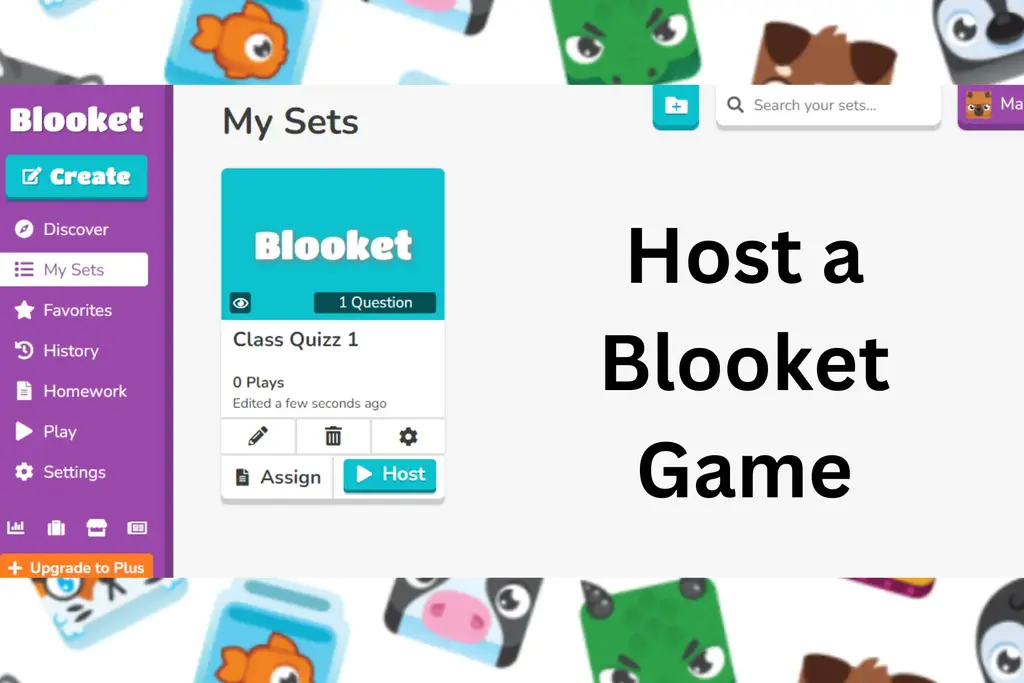
How to Host a Blooket Game in 2024? Learn in Simple Steps!
In Summary
- Users can easily start playing Blooket by creating an account on the Blooket website.
- Hosts can create games by selecting a type and theme and adding questions and answers.
- The game progress is monitored in real-time, and results are reviewed at the end for participant feedback.

Hosting a Blooket game is a fun and interactive method to bring education to life, making student learning a competitive and enjoyable experience. Blooket Play is a popular online quiz platform that enables schools and people to build, adapt, and host competitive game-based questions that fascinate players. Learn How to Host a Blooket Game!
How to Host a Blooket Game?
Here’s a step-by-step tutorial to hosting a Blooket game:
1- Make a Blooket Account
Make an account on the Blooket platform. Sign up using your email address at the Blooket website (blooket.com). After you create an account, you will be asked whether you are a teacher or a student.

If you already have an account, then you can simply log in from the top left corner.

Choose your role in the Blooket games.

2- Search the Blooket Dashboard
You’ll be sent to the Blooket dashboard after logging in. You’ll find a lot of choices for creating, managing, and playing games here. Learn the dashboard layout. This will be your command center for hosting Blooket games.
3- Find a Good Set
After you log in, you will be asked to choose a set. You can either create a set manually or discover from the sets that the platform has provided you.

You can explore ready-made sets or themes on Blooket.

4- Add Questions and Answers
After deciding on a game type and theme, add questions and answers. Blooket Join accepts text-based inquiries, and certain game variants also accept photos. Provide proper responses to each question and assign point values based on difficulty.

Or you can also manually create a whole set customized according to your preferences.

5- Change the Game Settings
Customize the game settings to your liking. You can change the timer for each question, turn it on or off the leaderboard, and decide whether players can see the correct answers after each question. Adjust these variables to your preferred level of competition and engagement.
You can also import questions from your own Quizlet account. This is a great feature.

6- Share the Game Code
After you’ve finished creating and configuring your game, use the “Start Game” or “Host” button. Blooket will generate a specific Blooket code.

Share this code with your participants, whether they are classroom students or virtual event attendees. Participants will enter this code to participate and play Blooket game.

7- Monitor the Game
As new participants join, the Blooket dashboard lets you track their development in real time. Keep an eye on the leaderboard! If you are hosting the game in a real classroom, you can also project the game screen or share your screen during a virtual session.
8- End the Game and Review Results
When the game ends, close the session by clicking the “End Game” button on the dashboard. Examine the outcomes, including individual ratings and performance indicators. This feedback can be useful in determining participant comprehension and participation.
Overall by hosting games for your students, you can create an active learning experience. This is how you can use modern educational techniques to create a better classroom environment.
Conclusion
Hosting a Blooket game is a fun method to make learning more enjoyable. The procedure requires creating a game with questions, modifying settings, and sharing a code with others for them to join. Blooket’s features make it simple to engage participants and track their progress. The platform provides real-time feedback and informs you of everyone’s performance.

